Quickstart
The easiest way to get started with Unleash is through a cloud-hosted free trial. This gives you a ready-to-use instance, so you can explore all Unleash features without any local setup.
In this guide, you'll:
-
Sign up for a free, cloud-hosted Unleash Enterprise instance.
-
Create your first feature flag using the Unleash Admin UI.
-
Connect Unleash to your application by integrating an SDK into your codebase.
If you prefer to manage your own infrastructure, see the self-hosted setup guide. To use the open-source version, see the instructions in the Unleash GitHub repository.
Sign up for an Unleash Enterprise Cloud trial
Start by signing up for a free 14-day trial of Unleash Enterprise Cloud. After you submit the form, you will receive a confirmation email. Follow the link in the email to set your password and log in to your Unleash instance.
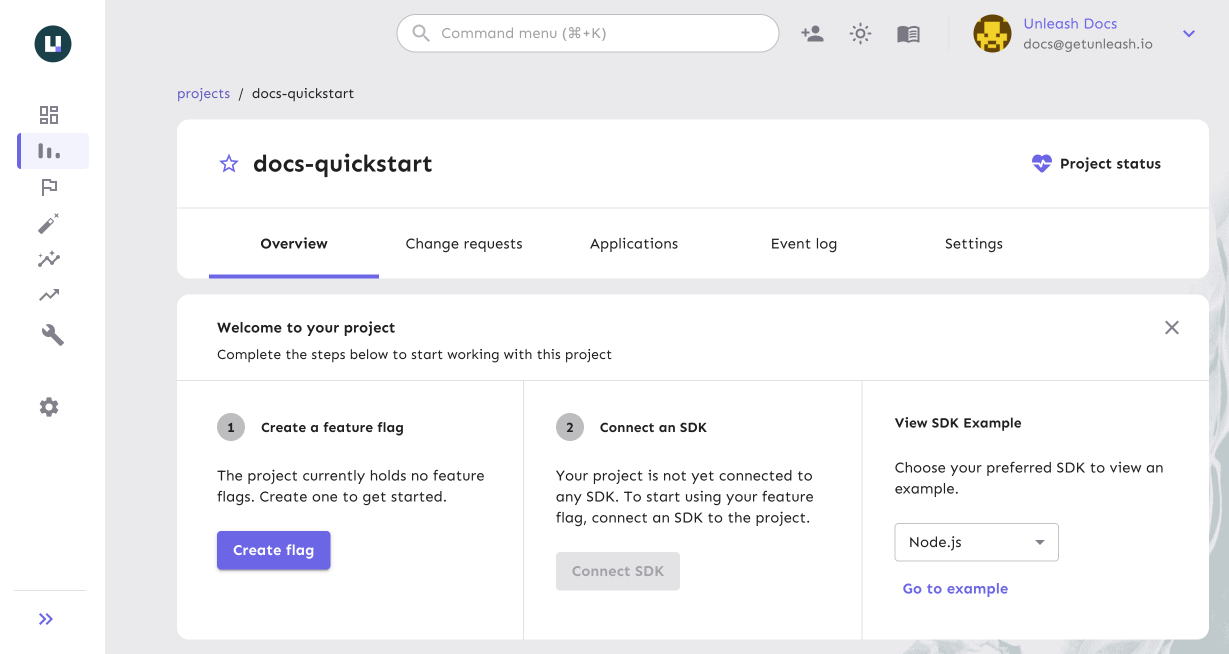
Create your first feature flag
Once you've logged in, it's time to create your first feature flag:
- In the Unleash Admin UI, open the Default project.
- Click New feature flag.
- Enter a name, and click Create feature flag.
For more details on creating feature flags, see How to create a feature flag.
Connect your application to Unleash
Next, use one of the client or backend SDKs to connect Unleash with your application.
Need an example application to test with?
Explore our SDK examples directly in your browser with CodeSandbox. Check out the Unleash SDK Examples repository to try one now.
- Connect a frontend SDK
- Connect a backend SDK
-
Create an API token
In the Unleash Admin UI, create a frontend API token in Admin settings > Access control > API access.
-
Get your Unleash API URL
Find the base URL of your Unleash Cloud instance (for example,
https://us.app.unleash-hosted.com/some-instance-id). Your frontend API URL is this base URL with/api/frontendappended to it. -
Initialize the SDK
In your application code, initialize the SDK using your API URL and token.
The following example shows how to use the JavaScript SDK to connect to your Unleash instance:
import { UnleashClient } from "unleash-proxy-client";

const unleash = new UnleashClient({
    url: "https://<YOUR_UNLEASH_INSTANCE>/api/frontend",
    clientKey: "<YOUR_TOKEN>",
    appName: "<YOUR_APP_NAME>",
});

unleash.on("synchronized", () => {
    // Unleash is ready to serve updated feature flags.

    // Check a feature flag
    if (unleash.isEnabled("some-flag")) {
        // do cool new things when the flag is enabled
    }
});
-
Create an API token
In the Unleash Admin UI, create a backend token in Admin settings > Access control > API access.
-
Get your Unleash API URL
Find the base URL of your Unleash Cloud instance (for example,
https://us.app.unleash-hosted.com/some-instance-id). Your API URL is this base URL with/apiappended to it. -
Initialize the SDK
In your application code, initialize the SDK using your API URL and token.
The following example shows how to use the Node.js SDK to connect to your Unleash instance:
const { initialize } = require("unleash-client");

const unleash = initialize({
    url: "https://<YOUR_UNLEASH_INSTANCE>/api",
    appName: "<YOUR_APP_NAME>",
    customHeaders: {
        Authorization: "<YOUR_TOKEN>",
    },
});

unleash.on("synchronized", () => {
    // Unleash is ready to serve updated feature flags.

    if (unleash.isEnabled("some-flag")) {
        // do cool new things when the flag is enabled
    }
});
For examples that show how to connect to Unleash in other programming languages, see the Unleash SDK Examples repository.
Next steps
You have successfully connected Unleash to your application. To continue exploring, see the following resources:
- Core concepts: Learn about the Unleash architecture, available hosting options, and other reference documentation.
- Developer guides: Explore feature flag best practices and language-specific tutorials.
- Join the community: Have questions or feedback? Join the Unleash community on Slack to connect with other developers and the Unleash team.